time4me
Bronze Member
- Aug 30, 2005
- 1,296
- 44
- Detector(s) used
- E-Trac, Explorer II, Excalibur
Someone posted a ring they found that was horribly encrusted in black - so much so that you could only see the basic shape of a ring. I replied that he might try electrolysis on the ring to get the black crust off. I had found a silver ring in an ocean beach on Cape Cod that was pretty badly encrusted, and was able to get the crust off nicely with my home electrolysis kit. Someone else posted asking me to explain my setup, so I thought I'd show it here...
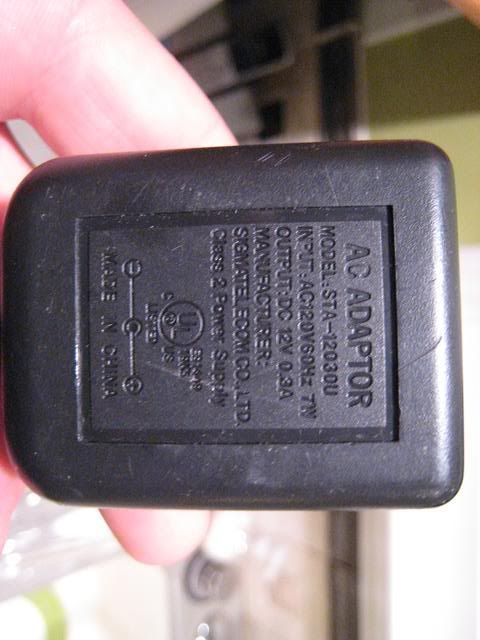
You'll need an old 12 volt or 18 volt charger from a cell phone or something. I only had a 12 volt, but I've read that 18 volts works much better...
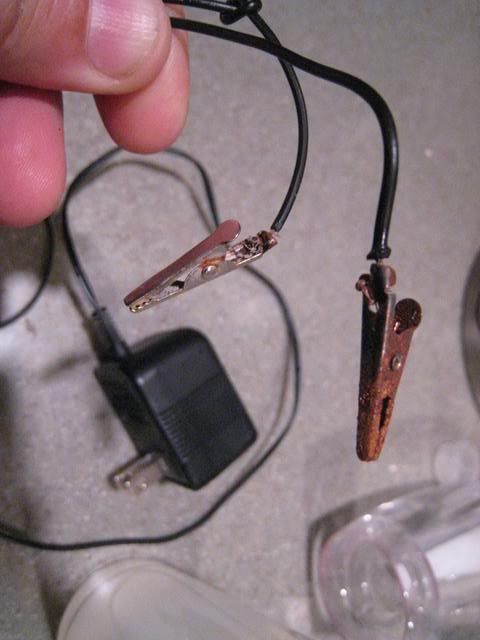
Alligator clips - you'll need to cut the end off of the charger, and pull the two wires apart, and then strip them enough to hook an alligator clip to each one...
A glass (glass not plastic) full of water.
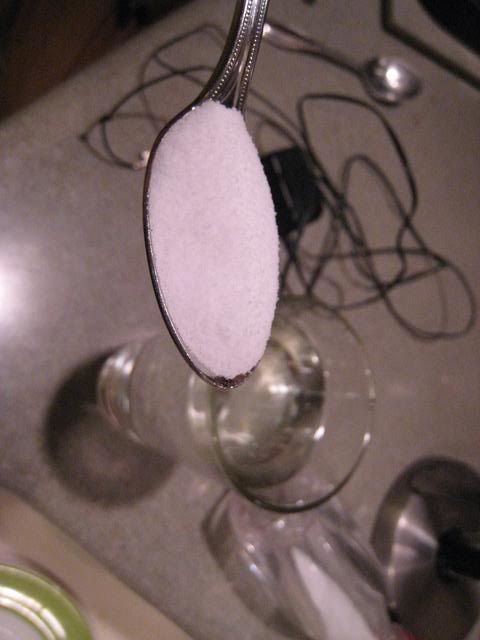
Add one teaspoon of regular table salt to the glass of water...
Add five or six drops of lemon juice to the salt water...

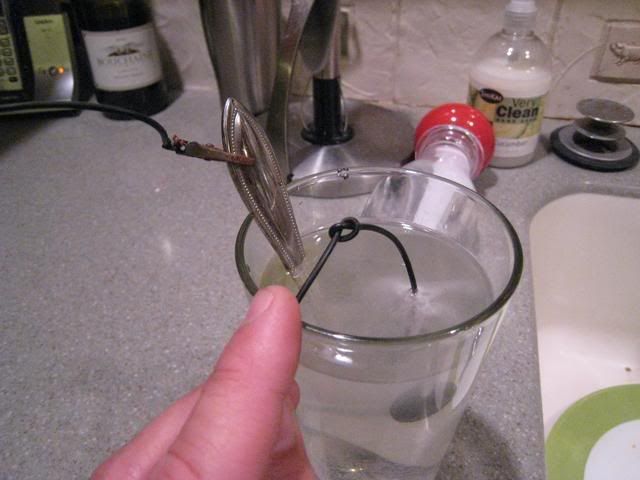
You'll then need a stainless steel spoon to set in the salt water and clip the negative clip to. The positive clip goes on the item you want to get the crust off of. If you don't know which is which, just guess. If you've got it wrong, the spoon will start to fizz. This happened to me the first time, so I unplugged the plug and switched the clips, tying a knot into the positive wire so I'd know which one goes where going forward.
Once you've got one clip on the submerged spoon, and the other clip on your item, plug in the plug and then sink the item into the water (shouldn't matter if it is already in the water before plugging in the plug), being careful to not touch the item to the spoon - keep them apart.
It might take anywhere from 5 to 10 minutes - maybe longer - for the process to do enough to get the gunk off of your item.
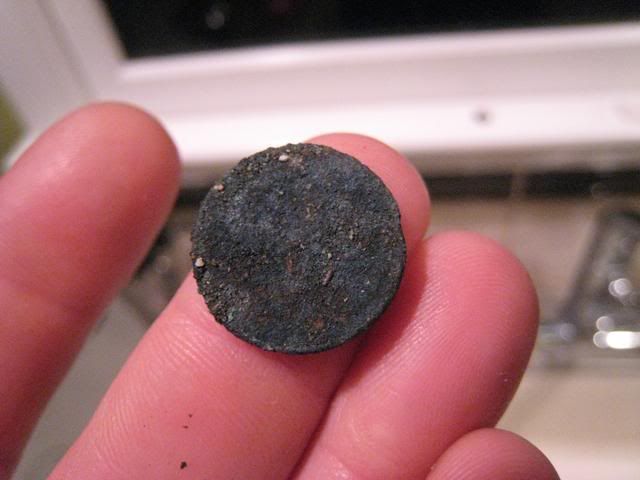
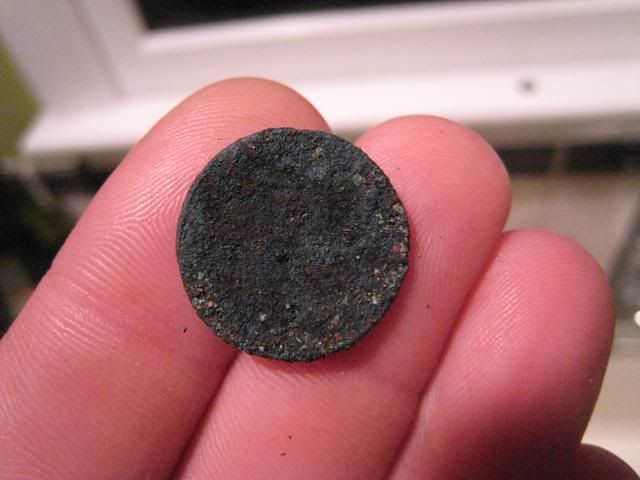
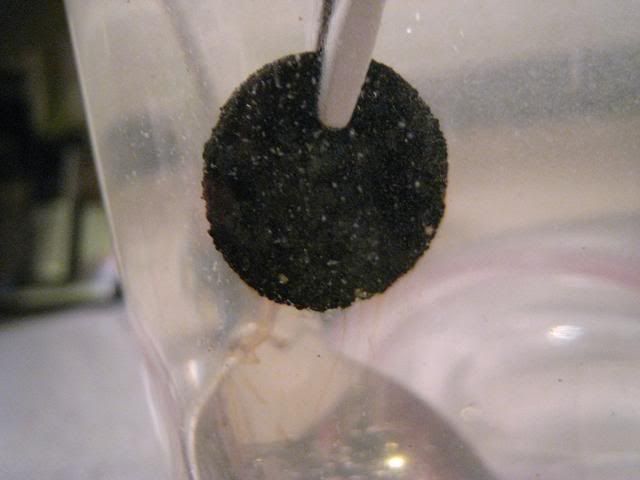
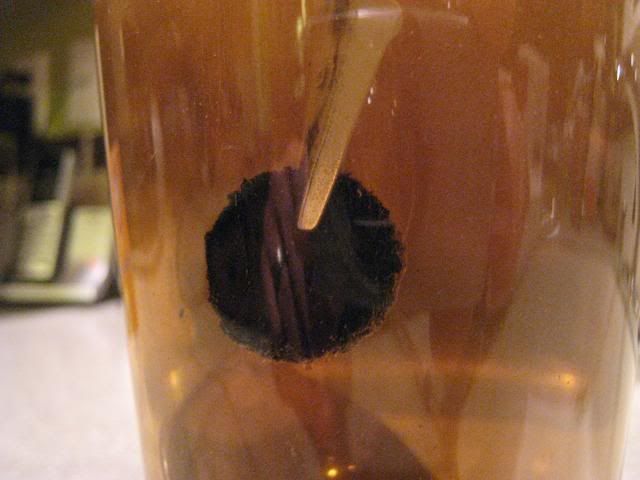
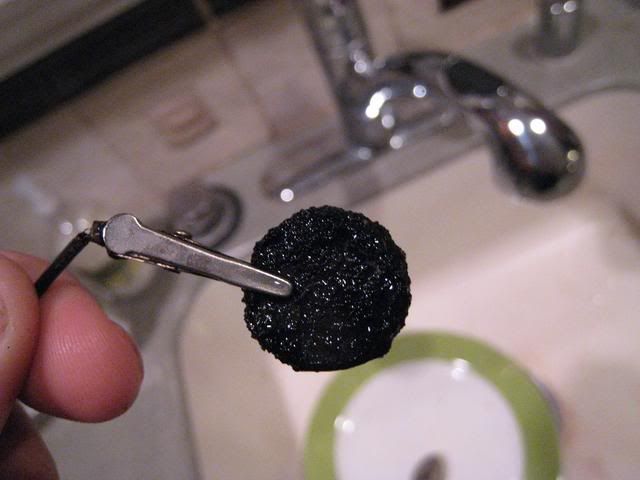
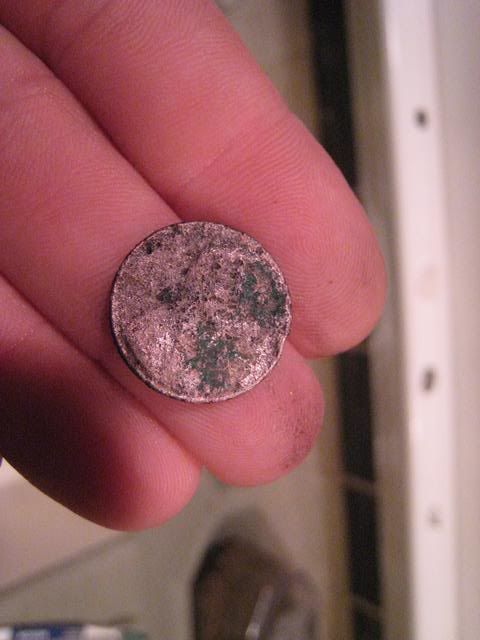
So here is my demonstration. I found this encrusted coin the other day - looked suspiciously like a newer memorial cent, but who can tell?
One side...
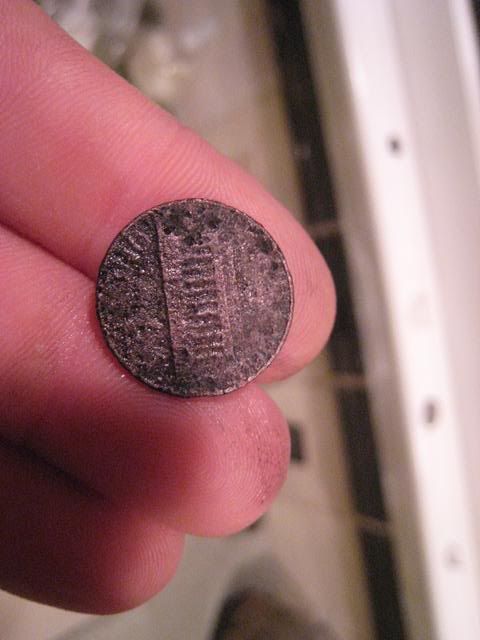
other side...
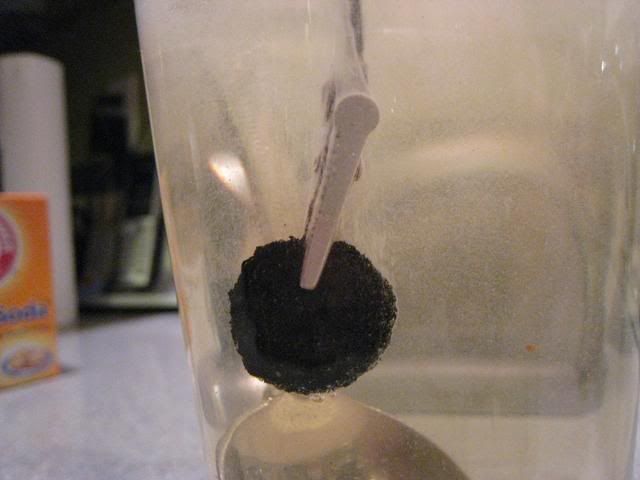
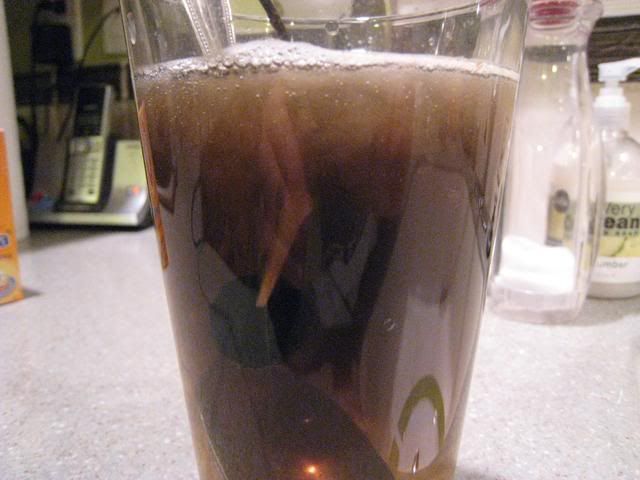
Into the electrolysis unit it goes...
Check the time when it goes in, so you know how long it has been cooking...
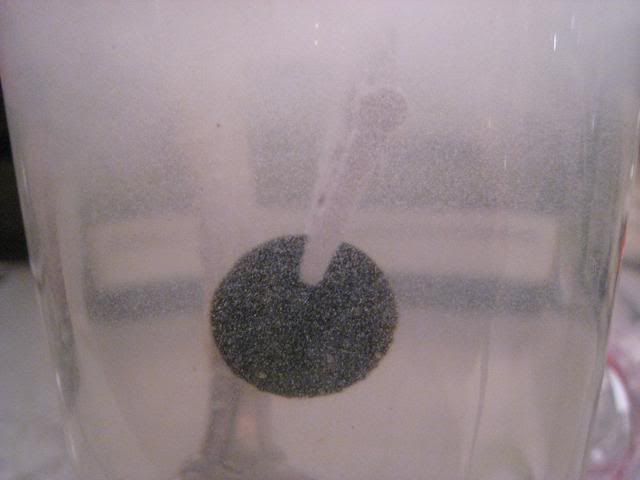
Then sit back and watch the electrolysis work its magic...

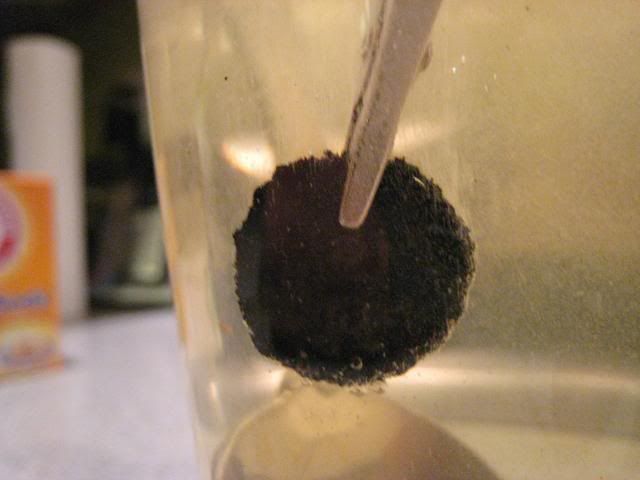
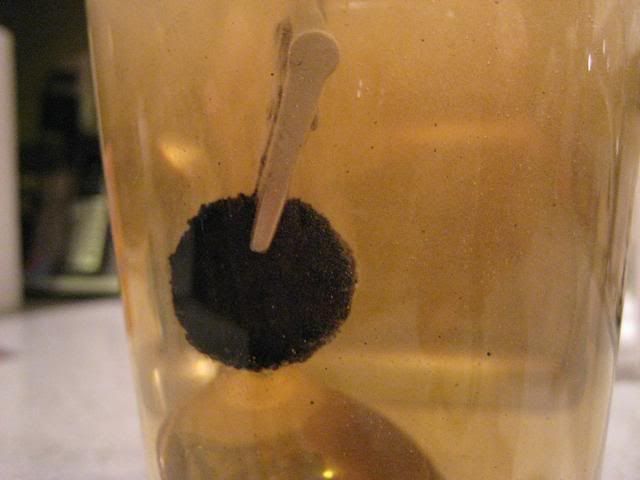
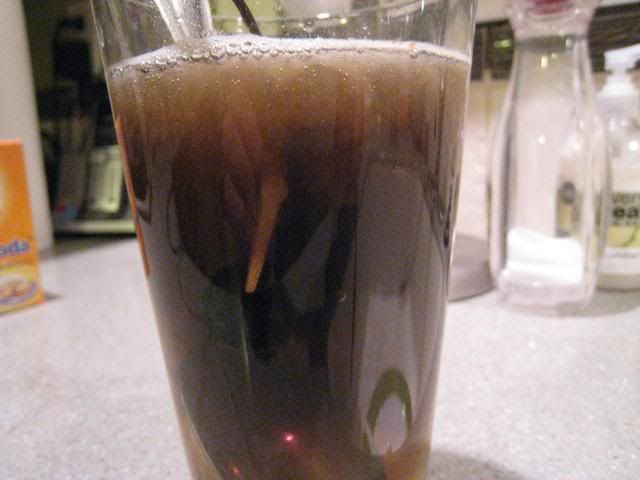
Once you think enough of the black crust has flaked off of the item, unplug the plug and remove your item...
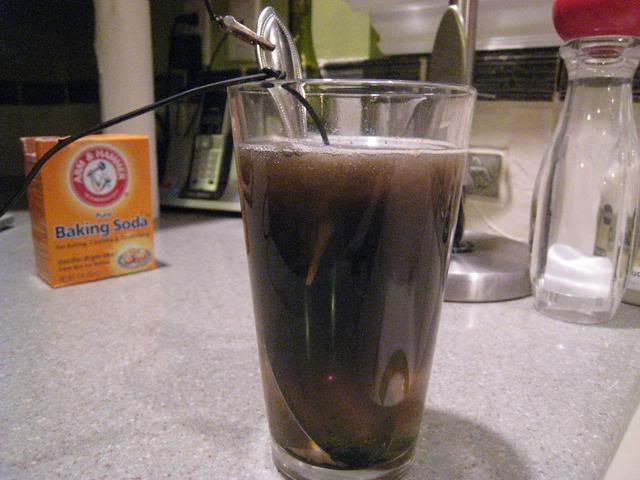
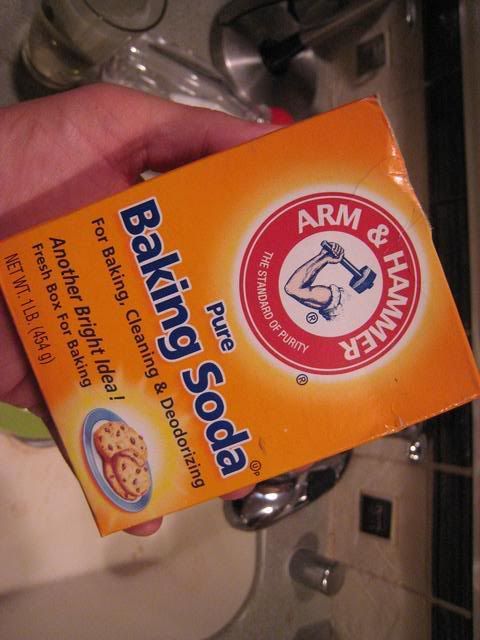
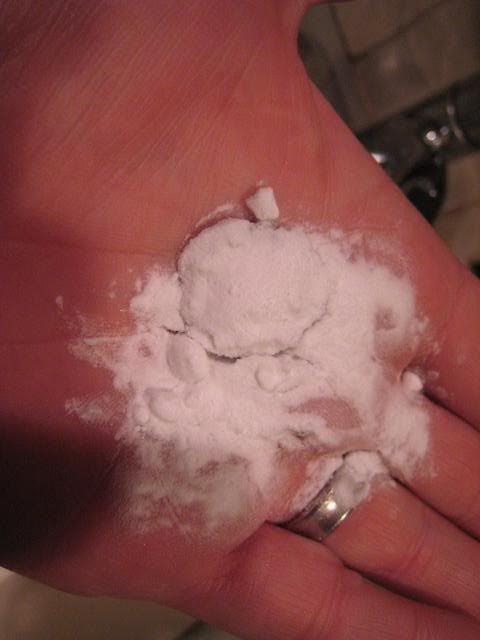
Then with the item in your hand, pour some baking soda over it and rub it all over it to stop the electrolysis process...
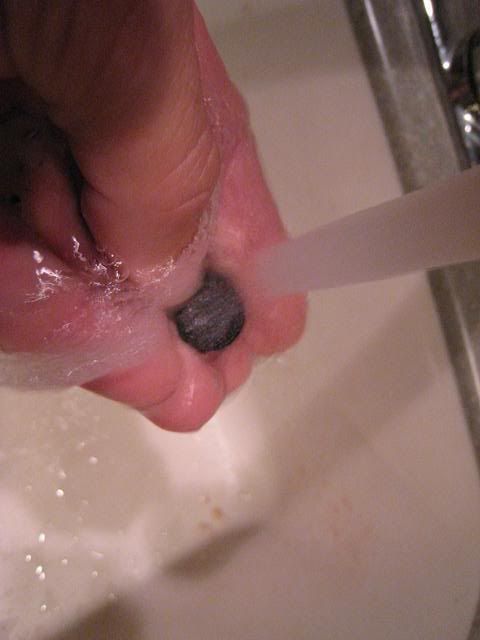
Then rinse off the item under some running water - the baking soda ends up acting like a very fine powder polish to help remove the black gunk...
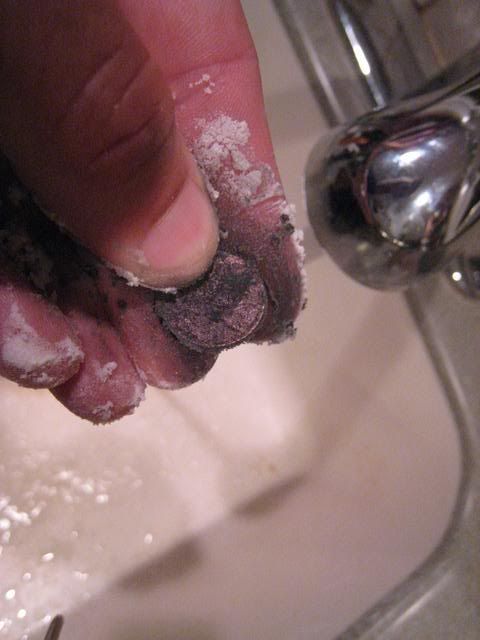
The result? Not perfect, but heck of a lot better than what I started with...
I hope this little demonstration helps some of you out.
Jim
You'll need an old 12 volt or 18 volt charger from a cell phone or something. I only had a 12 volt, but I've read that 18 volts works much better...
Alligator clips - you'll need to cut the end off of the charger, and pull the two wires apart, and then strip them enough to hook an alligator clip to each one...
A glass (glass not plastic) full of water.
Add one teaspoon of regular table salt to the glass of water...
Add five or six drops of lemon juice to the salt water...
You'll then need a stainless steel spoon to set in the salt water and clip the negative clip to. The positive clip goes on the item you want to get the crust off of. If you don't know which is which, just guess. If you've got it wrong, the spoon will start to fizz. This happened to me the first time, so I unplugged the plug and switched the clips, tying a knot into the positive wire so I'd know which one goes where going forward.
Once you've got one clip on the submerged spoon, and the other clip on your item, plug in the plug and then sink the item into the water (shouldn't matter if it is already in the water before plugging in the plug), being careful to not touch the item to the spoon - keep them apart.
It might take anywhere from 5 to 10 minutes - maybe longer - for the process to do enough to get the gunk off of your item.
So here is my demonstration. I found this encrusted coin the other day - looked suspiciously like a newer memorial cent, but who can tell?
One side...
other side...
Into the electrolysis unit it goes...
Check the time when it goes in, so you know how long it has been cooking...
Then sit back and watch the electrolysis work its magic...
Once you think enough of the black crust has flaked off of the item, unplug the plug and remove your item...
Then with the item in your hand, pour some baking soda over it and rub it all over it to stop the electrolysis process...
Then rinse off the item under some running water - the baking soda ends up acting like a very fine powder polish to help remove the black gunk...
The result? Not perfect, but heck of a lot better than what I started with...
I hope this little demonstration helps some of you out.
Jim


Upvote
0
")