gleaner1
Silver Member
- Feb 1, 2009
- 4,495
- 1,038
- Detector(s) used
- Sometime(s)
- Primary Interest:
- Other
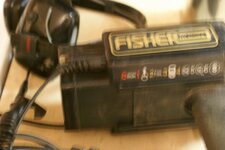
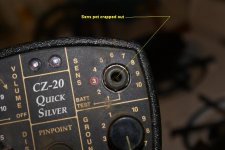
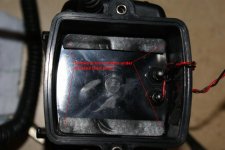
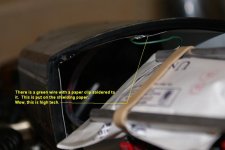
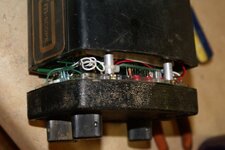
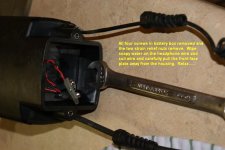
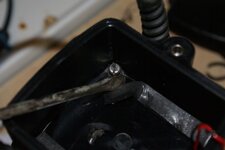
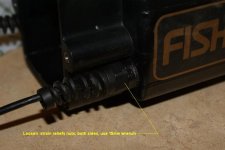
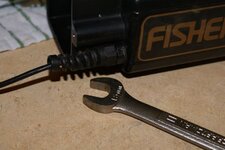
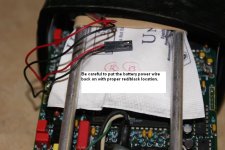
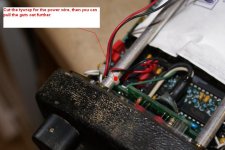
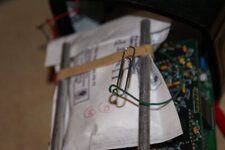
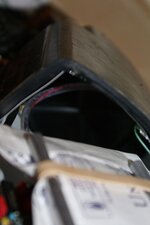
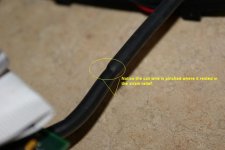
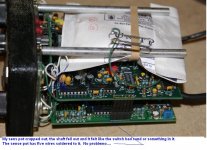
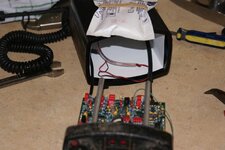
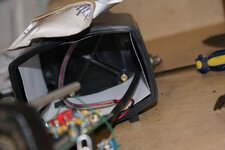
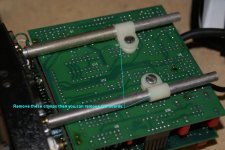
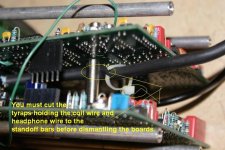
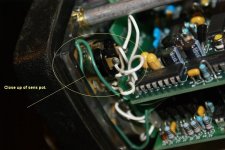
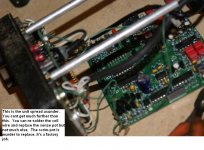
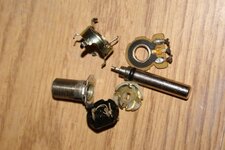
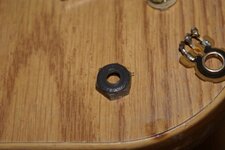
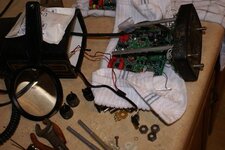
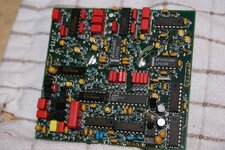
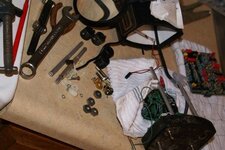
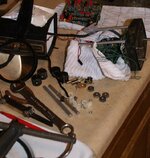
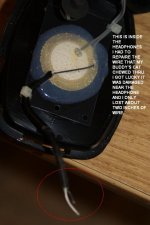
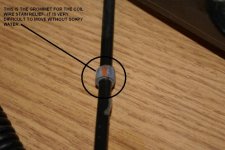
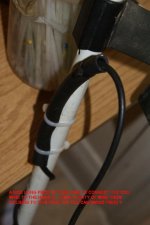
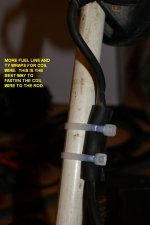
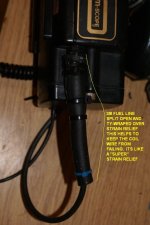
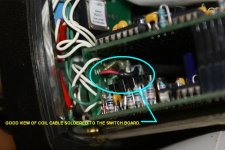
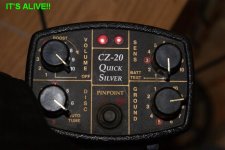
My CZ20 sens pot crapped out. Thanks to the folks at Fisher I have a new one in the mail cheap. Warning: Viewer discretion advised. One Valium, five wires to solder, three hours labor, and I'm good to go.


Attachments
-
 DSC06045.jpg50.1 KB · Views: 685
 -
 DSC06046.jpg50.7 KB · Views: 675
 -
 DSC06047.jpg59.3 KB · Views: 722
 -
 DSC06048.jpg55.9 KB · Views: 725
 -
 DSC06058.jpg42.5 KB · Views: 746
 -
 DSC06055.jpg62.6 KB · Views: 709
 -
 DSC06054.jpg57.6 KB · Views: 743
 -
 DSC06051.jpg37.2 KB · Views: 699
 -
 DSC06052.jpg44.6 KB · Views: 695
 -
 DSC06053.jpg62.1 KB · Views: 683
 -
 DSC06057.jpg63 KB · Views: 785
 -
 DSC06056.jpg62.3 KB · Views: 920


 .....Jim