GTK96
Sr. Member
A few have asked what the basic setup for my work is, and I had a night to clean up and re-arrange...
So
Here's the "workshop" (I hope the pictures save in order)
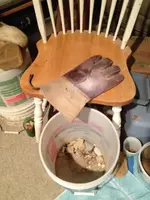
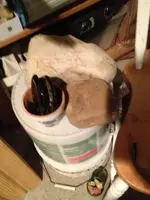
1st pic: leather for percussion and debitage bucket, plus the seat
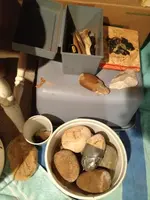
2nd: hammer stones, flakes from a flint nodule, flaking tools, etc.
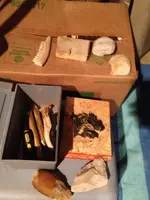
3rd: another view, plus some abraiders, a knife handle in progress, and a flaking pad
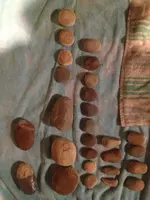
4th: all the hammer stones I have
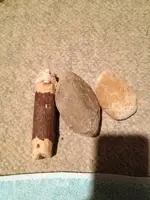
5th: just for kicks, I kept my first 2 hammerstones and pressure flaker
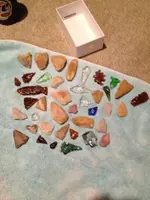
6th: the bucket of poor judgement....basically whatever I make and don't like or save for some reason
7th: some glass bottle bottoms used as material, and big rocks for whatever I'm making that day (they come in handy often)
So there it is! Any questions I would be happy to answer
HH
So
Here's the "workshop" (I hope the pictures save in order)
1st pic: leather for percussion and debitage bucket, plus the seat
2nd: hammer stones, flakes from a flint nodule, flaking tools, etc.
3rd: another view, plus some abraiders, a knife handle in progress, and a flaking pad
4th: all the hammer stones I have
5th: just for kicks, I kept my first 2 hammerstones and pressure flaker
6th: the bucket of poor judgement....basically whatever I make and don't like or save for some reason
7th: some glass bottle bottoms used as material, and big rocks for whatever I'm making that day (they come in handy often)
So there it is! Any questions I would be happy to answer
HH


Attachments
Upvote
0