tnt-hunter
Bronze Member
- Joined
- Apr 20, 2018
- Messages
- 1,920
- Reaction score
- 10,493
- Golden Thread
- 0
- Location
- Mountain Maryland
- 🏆 Honorable Mentions:
- 9
- Detector(s) used
- Fisher CZ-21, Minelab Equinix 800, ,Garret AT Pro,
- Primary Interest:
- All Treasure Hunting
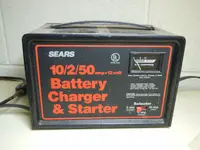
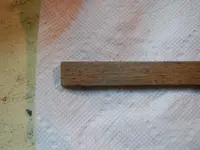
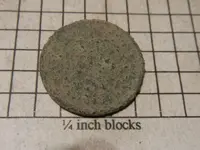
I don’t normally do much if any cleaning to the few old coppers I find because I am afraid of ruining them. But this one was so toasty I figured I didn’t have anything to loose. I use an older battery charger that you can set for 2, 10, or 50 amps. (The new battery chargers have an auto cutoff that shuts them down when you try to use them in electrolysis.) For a coin I figured I should go slow and easy so 2 amps for 15 minute sessions with a light rub with a flat piece of wood in between to see how it is going. I used the wood because of the chunky condition of the coin. I wanted something that would help remove the chunks, but not damage the copper underneath.
After 4 sessions you really can’t see much improvement. So I upped the time to 30 minutes and got some improvement.
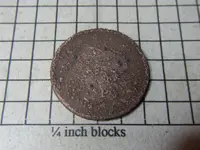
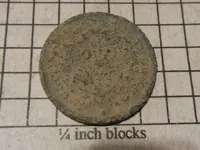
After a second 30 minute session I was satisfied with the results. I can see enough detail to know what I have and going further might do more harm than good.
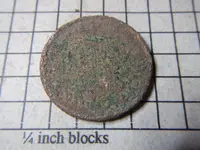
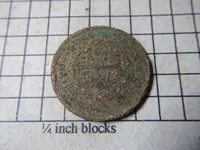
The acid soil has really eaten away at the poor thing, but the back is good enough to tell that it is ONE CENT with no line under the cent. The front is in worse shape, but you can make out the shape of the bust and see the hair bun on the back. So this is a braided hair cent (1839-1857).
Here are before and after pictures side by side.
Front
Back
It did turn out better than I thought it would but after this I am convinced that electrolysis is a last resort when the coin is really crusty. Doing this on the average copper would remove a lot of the material that accentuates the details and makes the coin easy to identify. I hope this will help anyone considering how to clean their coppers and if nothing else show what NOT to do unless the coin is hopeless.
Thanks for looking and may your coil lead you to good things.
Upvote
19

