lost items recovery
Bronze Member
- Nov 29, 2012
- 1,295
- 644
- Primary Interest:
- Other
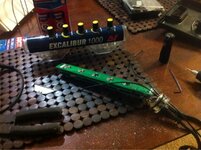
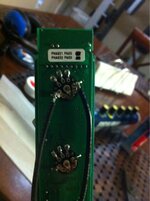
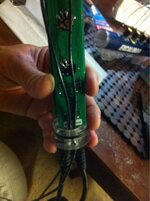
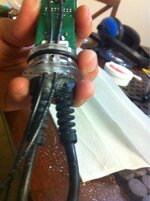
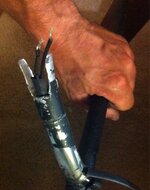
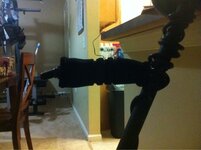
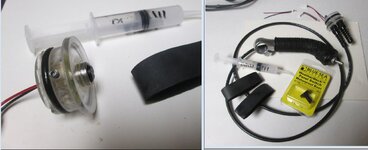
Well I finally whipped up the courage to perform this modification on my excal 1000 and all I can say is woo hoo that was definitely worth doing! A little nervous on the water proofing aspect of it but I'm sure it'll be fine. (I hope!) Soldered my wires as shown but ran them down the bottom of the board towards the coil and battery end cap as there was too many wires coiled up in the headphone end cap and didn't feel comfortable drilling through it and risking hitting a wire. Now the new penetration is on the bottom end of the housing and I believe that if there ever was a leak it would be harder for the water to enter as the air would have nowhere to escape to in order to fill the tube. Getting sick just thinking of that! Anyways! I've definitely applied a liberal amount of epoxy to the inside of the end cap after installing the wires so it should be fine. Used a waterproof switch from west marine and was a little confused as to what switch would be correct because the help I had was advising me that I needed a on/off/on toggle to switch between modes. Note!!! That was not correct! The correct switch needed was a waterproof on/off switch with 2 wires! While I was there I picked up 7 ft of marine grade (tinned copper) wire as added protection from the salt water to help protect the copper should the insulation ever leak. I've also ran the wires through shrink tubing to keep things looking neater. The shaft is going to be replaced soon so the handle will be removed and saved for the new one. As I've read the tricky part would be aligning the knobs back up to reinstall the board and this was true. As advised turn the knobs all the way to the left, but mine were slightly out of adjustment so I looked through the tube and aligned the little fins by eye into a straight line and proceeded to install the board.I did still hit a minor snag and just turned each knob ever so slightly until I felt which one was causing a hang up.this is a very delicate procedure and you really need to take it slow and apply next to no pressure! Drilled 2 small holes in order to insure complete surrounding of epoxy to seal between the wires. Drilled in the smallest part of the cap between the board slot and it's rim paying special attention to avoiding contacting the screw hole as this may cause a leak or put the wire in the path of the screw. I would advise you if you are not comfortable doing it then don't! If your machine is still under warranty then don't modify your machine as it will void it out! If your mod leaks your machine will be ruined! If you are comfortable enough to do the mod yourself then plan it out and wait and think of what could go wrong and plan for that as well. I was confidant in what I was doing and then realized the disaster I just avoided by becoming aware of the fact that if I had drilled through the screw hole I may have had a leak, possibly filled the screw hole with epoxy or even rethreaded the screw through my wire. I did leave the screw in the hole after becoming aware that I needed to avoid this area as it gave better visibility. Just remember to remove it before installing the board and end caps when it's time. Some things are best left to people that have experience in this such as OBN on these forums. He does this mod quite often for people and has a great reputation for doing successful, professional quality work.
Attachments
Last edited:
Upvote
0


