Welcome tonight to "Scott's Locks."
Tonight we will explore Kwikset's "Smart Key" system.
Now,
Any locksmith will tell you, "DON'T disassemble a 'smart key' system lock!"
But, you folks know me.....
Yeah, tell me NOT to do something.....
I'll provide some background music for you as we disassemble one.
My locksmith friend and I were called to a job and we were requested to replace the double-sided deadbolt locks on the front door.
The reason was that all other locks were standard Schlage.
The customer didn't want so many different brand keys.
They had also lost the key to the Kwikset.
Afterwards, I had a few minutes and decided to see if I could salvage the lock set.
If you don't have a key, you are relegated to using an expensive "reset tool,"
KWIKSET Cylinder Reset Cradle,Commercial - Lockset Cylinders - 2WJE2|83260 SMT RESET CRADLE GR - Grainger Industrial Supply
(My Friend has this tool, but, Tell me not to? We've had this discussion, haven't we?)
They are touted as "Un-pick-able."
Or,
Disassembly required to reset.
Or so I learned through "self-education"
Here's some info on Kwikset's "Smart Key."
Kwikset SmartKey Locks - Build.com
OK.
Shall we begin?
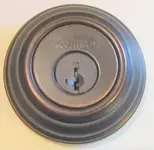
The cylinder we will be resetting.
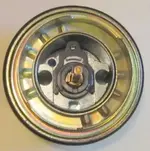
The back side.
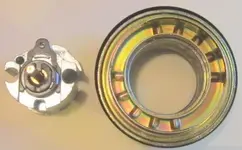
Breaking it down some more.
The works drop out from the mounting rings and cylinder.
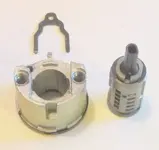
Disassembly of the works....
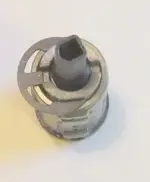
Here, we remove the retaining clip of the tail-piece.
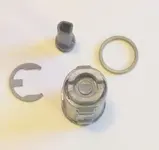
Once the clip is removed, several parts are removed.
Hope y'all keep up with parts.....
And ball bearings.
AND springs.....
Shall we continue?
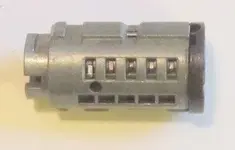
Now, as you can see, there are "pins" sticking up in the "cage" of the core housing.
These have to be pushed down until they are aligned to remove the core.
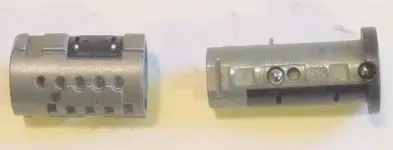
Once the core is removed,
You will be on your hands and knees looking for the ball bearing and spring.
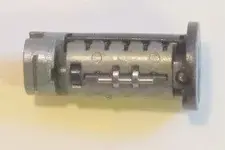
The whole gist of Kwikset's "Smart Key" is the employment of a type of "side Bar,"
One of the only applications of a side bar that I'm aware of in Residential locks.
Commonly found on Automotive ignitions....
Schlage has a similar system called, "Secure Key."
(I'm looking into that next.......)
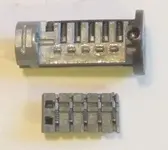
Once you have the core removed from the "housing,"
and have found the ball bearing and tiny spring,
Separate the "slider" from the core.
Yes, more smaller parts.....
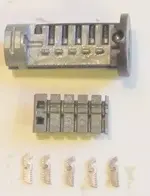
Place all of the "grips" properly in place and line them up so that the "groove" across the top is even.
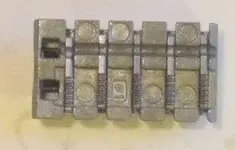
Then, carefully mate the "slider" to the core body.
Make sure that you have the "slider" all the way to the rear....
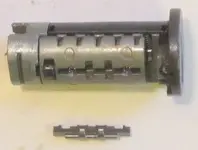
Then insert a "pre-cut key.
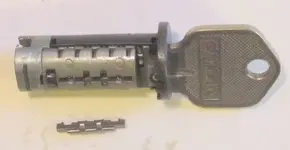
Then place the "side-bar" in place,
hold it down,
and,
While holding the side bar in place,
slide the slider to the front and insert the tiny spring you spent time on your hands and knees finding.
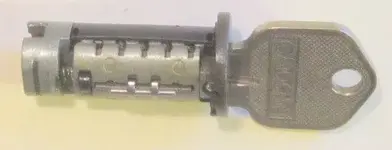
Yeah,
I'm gonna talk about that ball bearing here.....
Put it on the other spring,
Hold EVERYTHING in place,
and easily slip it all back into the collar housing.
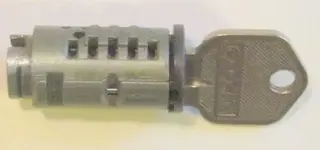
When assembled,
Remove key and re-assemble the remaining components in reverse order of disassembly.
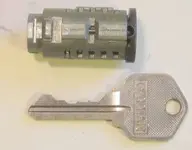
Now,
Wasn't that simple?
Next,
On "Scott's Locks,"
We may explore automotive ignitions with a "side-bar."
From a Memorial Day Benefit....
Memorial Day in one week.
Hope all will take a minute to think of those who have served and gave all....
Thank those who have served and are still here to receive appreciation.
I will spend next Monday,
in the local Cemetery,
In the Veterans Section,
Thanking my Brothers and Sisters.....
You
HAVE NO IDEA
what our Country's Heroes have endured....
Unless you served.
Always,
My Friends,
My
Best Wishes to All!
Scott